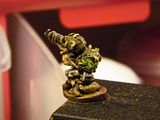
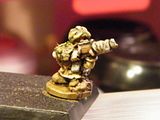
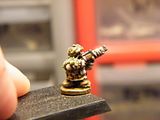
I have no idea why im painting these, but I like them and think they will turn out pretty good....
Hobby Spot
Thursday, March 31, 2011
Smoke and Flames
So I was reading some good stuff on the FOW site and saw this project and decided to try it out. I havent been a fan of the FOW smoke and flames and thought they always looked to fake. Here is a run down of how to make them.
First, use some fine wire and twist until there is a small loop at the end.
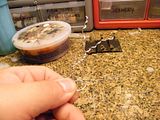
Next,
Attach the wire via super glue to a coin
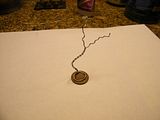
After is this is done, work in small sections and apply clump foliage with super glue.
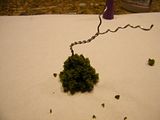
Work you way up a little at a time....
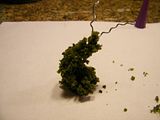
Until all the wire is covered.......
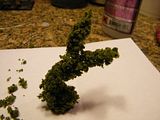
Then, make a mixture of dishsoap, water and PVA glue and aplly to the plume. Make sure to really soak it well. you want it to dry hard.....
Allow it to dry very well. Next step is to paint it and highlight it, but you will have to wait until tomorrow for this.
Cheers,
Hirsh
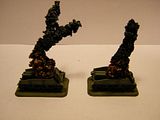
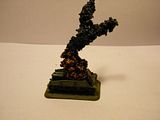
So here is the finished product from the smoke and flames project. The pieces were base coated with german gray and topped with a little black. They were then highlighted with red, hot orange and yellow. The tops were highlighted with codex gray and fortress grey. I think in all they look great, but i probably should have used more PVA glue when soaking then since they are still a little spongy. In all, it was a fun project that turned out well and didnt cost but $5 to make tons of these.
Tuesday, March 29, 2011
Late War British Tanks
Some New Scenery For my Blog
Well all im getting the hang of adding stuff to my page. Enjoy the new pictures of some of my work and share with a friend.
Cheers,
Hirsh
Cheers,
Hirsh
Monday, March 28, 2011
Past Work That I have completed
Welcome to Miniature Heros
Hello,
My name is Hirchel and I have been painting and modelling miniatures for the last year or so. Over the course of that year, I have learned some pretty cool skills and applied them to my work. I have started to do some commision work for a couple customers and am continuing to produce some fine armies for them to enjoy. Thanks for visiting my site and if you would like to have something painted, please leave a post or email me for a quote.
Subscribe to:
Posts (Atom)